Email Deliverability Guide: SPF, DKIM, DMARC Setup & Best Practices
Email deliverability remains the silent killer of marketing campaigns. You can craft the perfect email, segment your audience flawlessly, and time your sends perfectly—but if your emails land in spam folders, none of it matters. Recent studies show that 21% of legitimate emails never reach the inbox, costing businesses an average of $20 for every $1000 in email revenue.
The foundation of email deliverability lies in three critical authentication protocols: SPF, DKIM, and DMARC. These aren’t just technical acronyms—they’re your first line of defense against spam filters and the key to establishing sender reputation. Whether you’re using ActiveCampaign for automation or Brevo for transactional emails, proper authentication setup is non-negotiable.
This comprehensive guide will walk you through implementing bulletproof email authentication, troubleshooting common issues, and optimizing your deliverability beyond the basics.
Prerequisites and Domain Requirements
Before diving into authentication setup, ensure you have the necessary access and understanding of your email infrastructure:
- DNS Management Access: You’ll need administrative access to your domain’s DNS records through your registrar or hosting provider
- Email Service Provider (ESP) Account: Whether using GetResponse, ConvertKit, or another platform
- Dedicated IP (Recommended): For high-volume senders (10,000+ emails/month), a dedicated IP provides better control over reputation
- Subdomain Strategy: Consider using subdomains (mail.yourdomain.com) for different email types to isolate reputation
Most authentication failures stem from incomplete DNS propagation or incorrect record formatting. Plan for 24-48 hours for full DNS propagation after making changes.
Email Authentication Architecture Overview
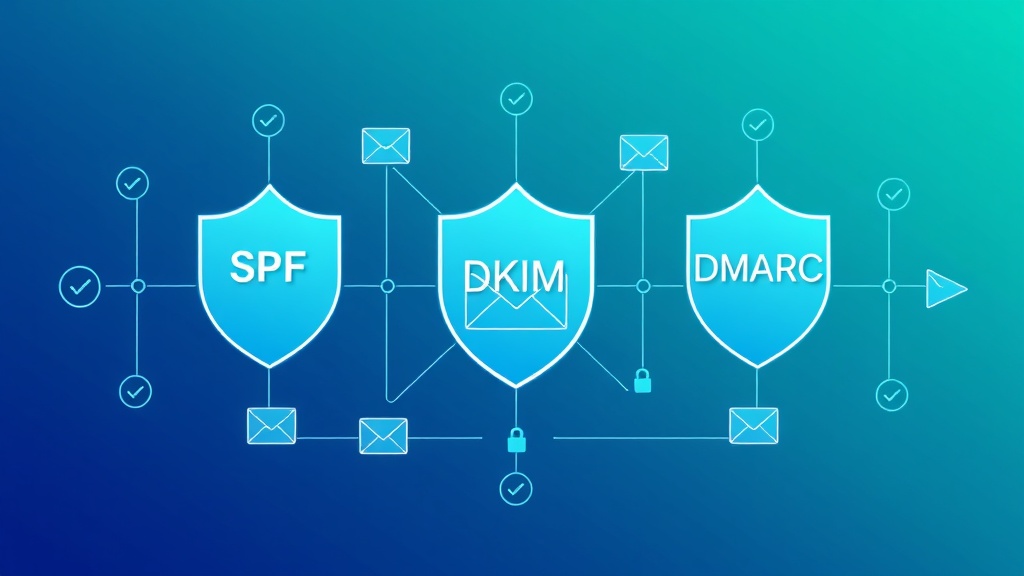
Email authentication works through a three-layer verification system that mailbox providers use to validate sender legitimacy:
The Authentication Trinity
SPF (Sender Policy Framework) acts as your domain’s bouncer, specifying which mail servers are authorized to send emails on your behalf. It’s the first check most email providers perform.
DKIM (DomainKeys Identified Mail) functions as a digital signature, using cryptographic keys to verify that your email content hasn’t been tampered with during transit.
DMARC (Domain-based Message Authentication, Reporting & Conformance) serves as the policy enforcement layer, telling receiving servers what to do when SPF or DKIM authentication fails.
Pro Tip: Think of SPF as checking ID at the door, DKIM as verifying the message seal, and DMARC as the security protocol that decides what happens when something doesn’t check out.
Authentication Flow
When you send an email, receiving servers perform these checks in sequence:
- SPF verification against the sender’s IP address
- DKIM signature validation using public keys
- DMARC policy evaluation based on SPF and DKIM results
- Reputation scoring and inbox placement decision
SPF Implementation: Your First Line of Defense
SPF records prevent email spoofing by defining authorized sending sources for your domain. A properly configured SPF record can improve deliverability rates by up to 10%.
SPF Record Structure
SPF records follow a specific syntax:
v=spf1 [mechanisms] [qualifiers] [modifier]Common mechanisms include:
ip4:– Authorizes specific IPv4 addressesip6:– Authorizes specific IPv6 addressesinclude:– References another domain’s SPF recorda:– Authorizes the domain’s A recordmx:– Authorizes the domain’s MX record
Step-by-Step SPF Setup
Step 1: Identify Your Sending Sources
List all services that send email on your domain’s behalf:
- Your primary email service provider
- Transactional email services
- Marketing automation platforms
- CRM systems
- Any third-party tools that send notifications
Step 2: Create Your SPF Record
Example SPF record for a business using multiple services:
v=spf1 include:_spf.google.com include:sendgrid.net include:mailgun.org ip4:203.0.113.1 ~allThis record authorizes:
- Google Workspace (Gmail for business)
- SendGrid for transactional emails
- Mailgun for marketing emails
- A specific IP address (203.0.113.1)
- Soft fail (~all) for unauthorized sources
Step 3: Add the DNS Record
Create a TXT record in your DNS with:
- Name: @ (or your domain name)
- Type: TXT
- Value: Your SPF record string
SPF Best Practices
- Use ~all instead of -all: Soft fail allows for testing without blocking legitimate emails
- Limit DNS lookups: SPF has a 10 DNS lookup limit; use ip4/ip6 for static IPs
- Monitor regularly: Update SPF records when adding new sending services
DKIM Configuration: Digital Email Signatures
DKIM adds a cryptographic signature to your emails, providing tamper-proof verification that the message came from your domain and hasn’t been modified.
DKIM Implementation Process
Step 1: Generate DKIM Keys
Most ESPs generate DKIM keys automatically. For manual setup:
# Generate 2048-bit RSA key pair
openssl genrsa -out private.key 2048
openssl rsa -in private.key -pubout -out public.key
Step 2: Configure Your Email Service
In your ESP (like Campaign Monitor or others), enable DKIM and note the selector and public key provided.
Step 3: Create DNS DKIM Record
Add a TXT record with:
- Name: [selector]._domainkey.yourdomain.com
- Value: v=DKIM1; k=rsa; p=[public_key]
Example:
Name: default._domainkey.example.com
Value: v=DKIM1; k=rsa; p=MIGfMA0GCSqGSIb3DQEBAQUAA4GNADCBiQKBgQC...
DKIM Validation Testing
Use command-line tools to verify DKIM setup:
dig TXT default._domainkey.yourdomain.comThe response should return your DKIM public key record.
DMARC Policy: The Authentication Enforcer
DMARC ties SPF and DKIM together, providing policy instructions for handling authentication failures and valuable reporting on email authentication attempts.
DMARC Record Components
A complete DMARC record includes:
- v=DMARC1: Version identifier
- p=: Policy for domain (none, quarantine, reject)
- sp=: Policy for subdomains
- rua=: Aggregate report destination
- ruf=: Failure report destination
- pct=: Percentage of messages to apply policy to
DMARC Implementation Strategy
Phase 1: Monitor (p=none)
Start with a monitoring policy:
v=DMARC1; p=none; rua=mailto:dmarc@yourdomain.com; ruf=mailto:dmarc@yourdomain.com; pct=100This collects data without affecting email delivery.
Phase 2: Quarantine (p=quarantine)
After analyzing reports for 2-4 weeks:
v=DMARC1; p=quarantine; rua=mailto:dmarc@yourdomain.com; pct=25Apply quarantine policy to 25% of messages initially.
Phase 3: Reject (p=reject)
Final enforcement policy:
v=DMARC1; p=reject; rua=mailto:dmarc@yourdomain.com; pct=100Beyond Basic Authentication: Advanced Deliverability Tactics
BIMI (Brand Indicators for Message Identification)
BIMI displays your brand logo in supported email clients when DMARC is set to reject. Requirements:
- DMARC policy set to quarantine or reject
- Verified Mark Certificate (VMC) from approved authorities
- SVG logo hosted on HTTPS
BIMI record example:
v=BIMI1; l=https://yourdomain.com/logo.svg; a=https://yourdomain.com/certificate.pemList Hygiene and Engagement Optimization
Authentication is just the foundation. Sustainable deliverability requires:
| Metric | Good Range | Action Required |
|---|---|---|
| Bounce Rate | < 2% | Regular list cleaning |
| Spam Complaint Rate | < 0.1% | Review content and targeting |
| Open Rate | > 20% | Subject line optimization |
| Click Rate | > 2% | Content relevance improvement |
| Unsubscribe Rate | < 0.5% | Frequency and content review |
IP Warming and Reputation Management
For dedicated IPs, implement a systematic warming schedule:
- Week 1: 50 emails/day to highly engaged subscribers
- Week 2: 100 emails/day, expand to moderately engaged
- Week 3-4: Gradually increase to 500-1000/day
- Week 5-8: Scale to full volume while monitoring metrics
Troubleshooting Common Authentication Issues
SPF Failures
Problem: SPF hard fail (-all) blocking legitimate emails
Solution: Change to soft fail (~all) and audit all sending sources
Problem: Exceeding 10 DNS lookup limit
Solution: Replace include mechanisms with ip4/ip6 where possible
DKIM Signature Issues
Problem: DKIM signature verification failing
Diagnostic steps:
- Verify DNS record propagation:
dig TXT selector._domainkey.domain.com - Check key length (2048-bit recommended)
- Ensure no extra spaces in DNS record
- Validate selector matches ESP configuration
DMARC Alignment Problems
Problem: DMARC failing despite SPF/DKIM passing
Root causes:
- Domain alignment mismatch (From domain ≠ SPF/DKIM domain)
- Subdomain policy conflicts
- Forwarding breaking authentication
Solutions:
- Ensure From domain aligns with authenticated domain
- Use relaxed alignment (aspf=r, adkim=r)
- Implement ARC for forwarding scenarios
Monitoring and Optimization Tools
Free Authentication Testing Tools
- MXToolbox: Comprehensive DNS and deliverability testing
- DMARC Analyzer: Free DMARC report parsing
- Mail-tester.com: Overall email deliverability scoring
- Google Postmaster Tools: Gmail-specific delivery insights
Enterprise Solutions
For high-volume senders, consider dedicated platforms:
- Valimail: Automated DMARC management
- dmarcian: Advanced DMARC analytics
- Proofpoint: Enterprise email security and authentication
Integration with Marketing Automation Platforms
Modern email marketing platforms handle much of the authentication complexity automatically. When selecting tools like Constant Contact or evaluating alternatives, prioritize platforms that offer:
- Automatic DKIM key generation and management
- SPF record guidance and validation
- DMARC reporting integration
- Dedicated IP options for high-volume accounts
- Deliverability monitoring and alerts
Many platforms also integrate with content optimization tools. For instance, using Copy.ai for subject line generation combined with Grammarly for content polishing can improve engagement metrics that indirectly boost deliverability.
Frequently Asked Questions
How long does it take for email authentication changes to take effect?
DNS propagation typically takes 24-48 hours globally, but some changes may be visible within minutes. However, mailbox providers may cache DNS records for longer periods. Plan for up to 72 hours for full implementation, and always test thoroughly before major campaigns.
Can I use the same DKIM key across multiple domains?
While technically possible, it’s not recommended for security and management reasons. Each domain should have its own DKIM key pair to maintain proper isolation and make key rotation easier. Most ESPs generate unique keys per domain automatically.
What’s the difference between DMARC alignment modes (strict vs relaxed)?
Strict alignment requires exact domain matches between the From header and SPF/DKIM domains. Relaxed alignment allows subdomain matches. For example, with relaxed alignment, an email from newsletter.company.com can pass DMARC if SPF/DKIM authenticate for company.com. Most organizations start with relaxed alignment for easier implementation.
Should I set DMARC to reject immediately for better deliverability?
No, jumping straight to p=reject can cause legitimate email delivery issues. Always start with p=none to collect data, analyze reports for 2-4 weeks, then gradually move to p=quarantine with low percentage enforcement before implementing p=reject. This phased approach prevents blocking legitimate emails while building authentication compliance.
Email deliverability success requires ongoing attention to authentication, content quality, and sender reputation. As email security standards evolve, staying ahead of authentication requirements isn’t just about avoiding spam folders—it’s about building trust with your audience and maximizing the ROI of your email marketing investments.
Ready to implement bulletproof email authentication and optimize your entire marketing automation stack? futia.io’s automation services can help you configure proper authentication, integrate with leading email platforms, and build automated systems that maintain high deliverability while scaling your business communications.
🛠️ Tools Mentioned in This Article